A Beginner’s Guide to Propagation in a Keder Greenhouse
Whether you’re a seasoned gardener or just starting out, using a Keder Greenhouse for propagation can elevate your gardening experience to the next level. This guide will walk you through the basics of propagation, highlighting the benefits of using a Keder Greenhouse and offering practical tips for success.
What is Propagation?
Propagation is the process of growing new plants from various sources like seeds, cuttings, bulbs, and other plant parts. It’s a rewarding and cost-effective way to expand your garden.
The primary methods of propagation include:
- Seed Sowing – The most common form of propagation, involving growing plants from seeds.
- Cuttings – Growing new plants from a piece of the parent plant, such as a stem or leaf.
- Layering – Involves bending a branch down to the soil and covering it to encourage roots to grow.
- Division – Splitting a plant into multiple sections, each capable of growing into a new plant.
Why Use a Keder Greenhouse for Propagation?
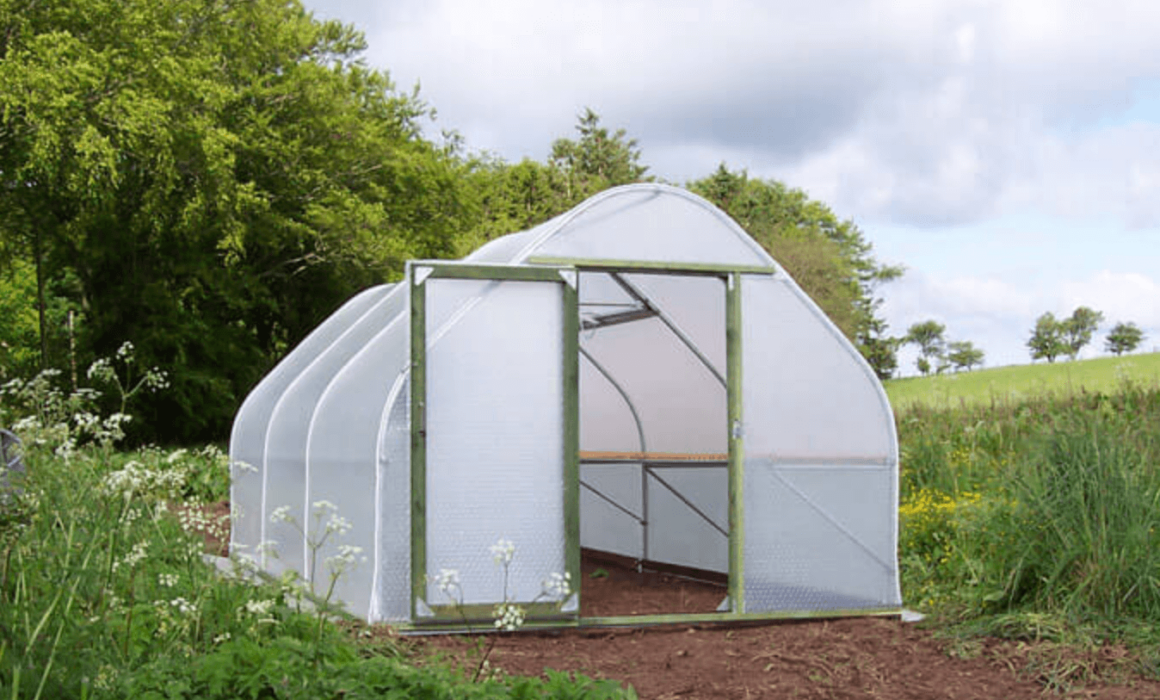
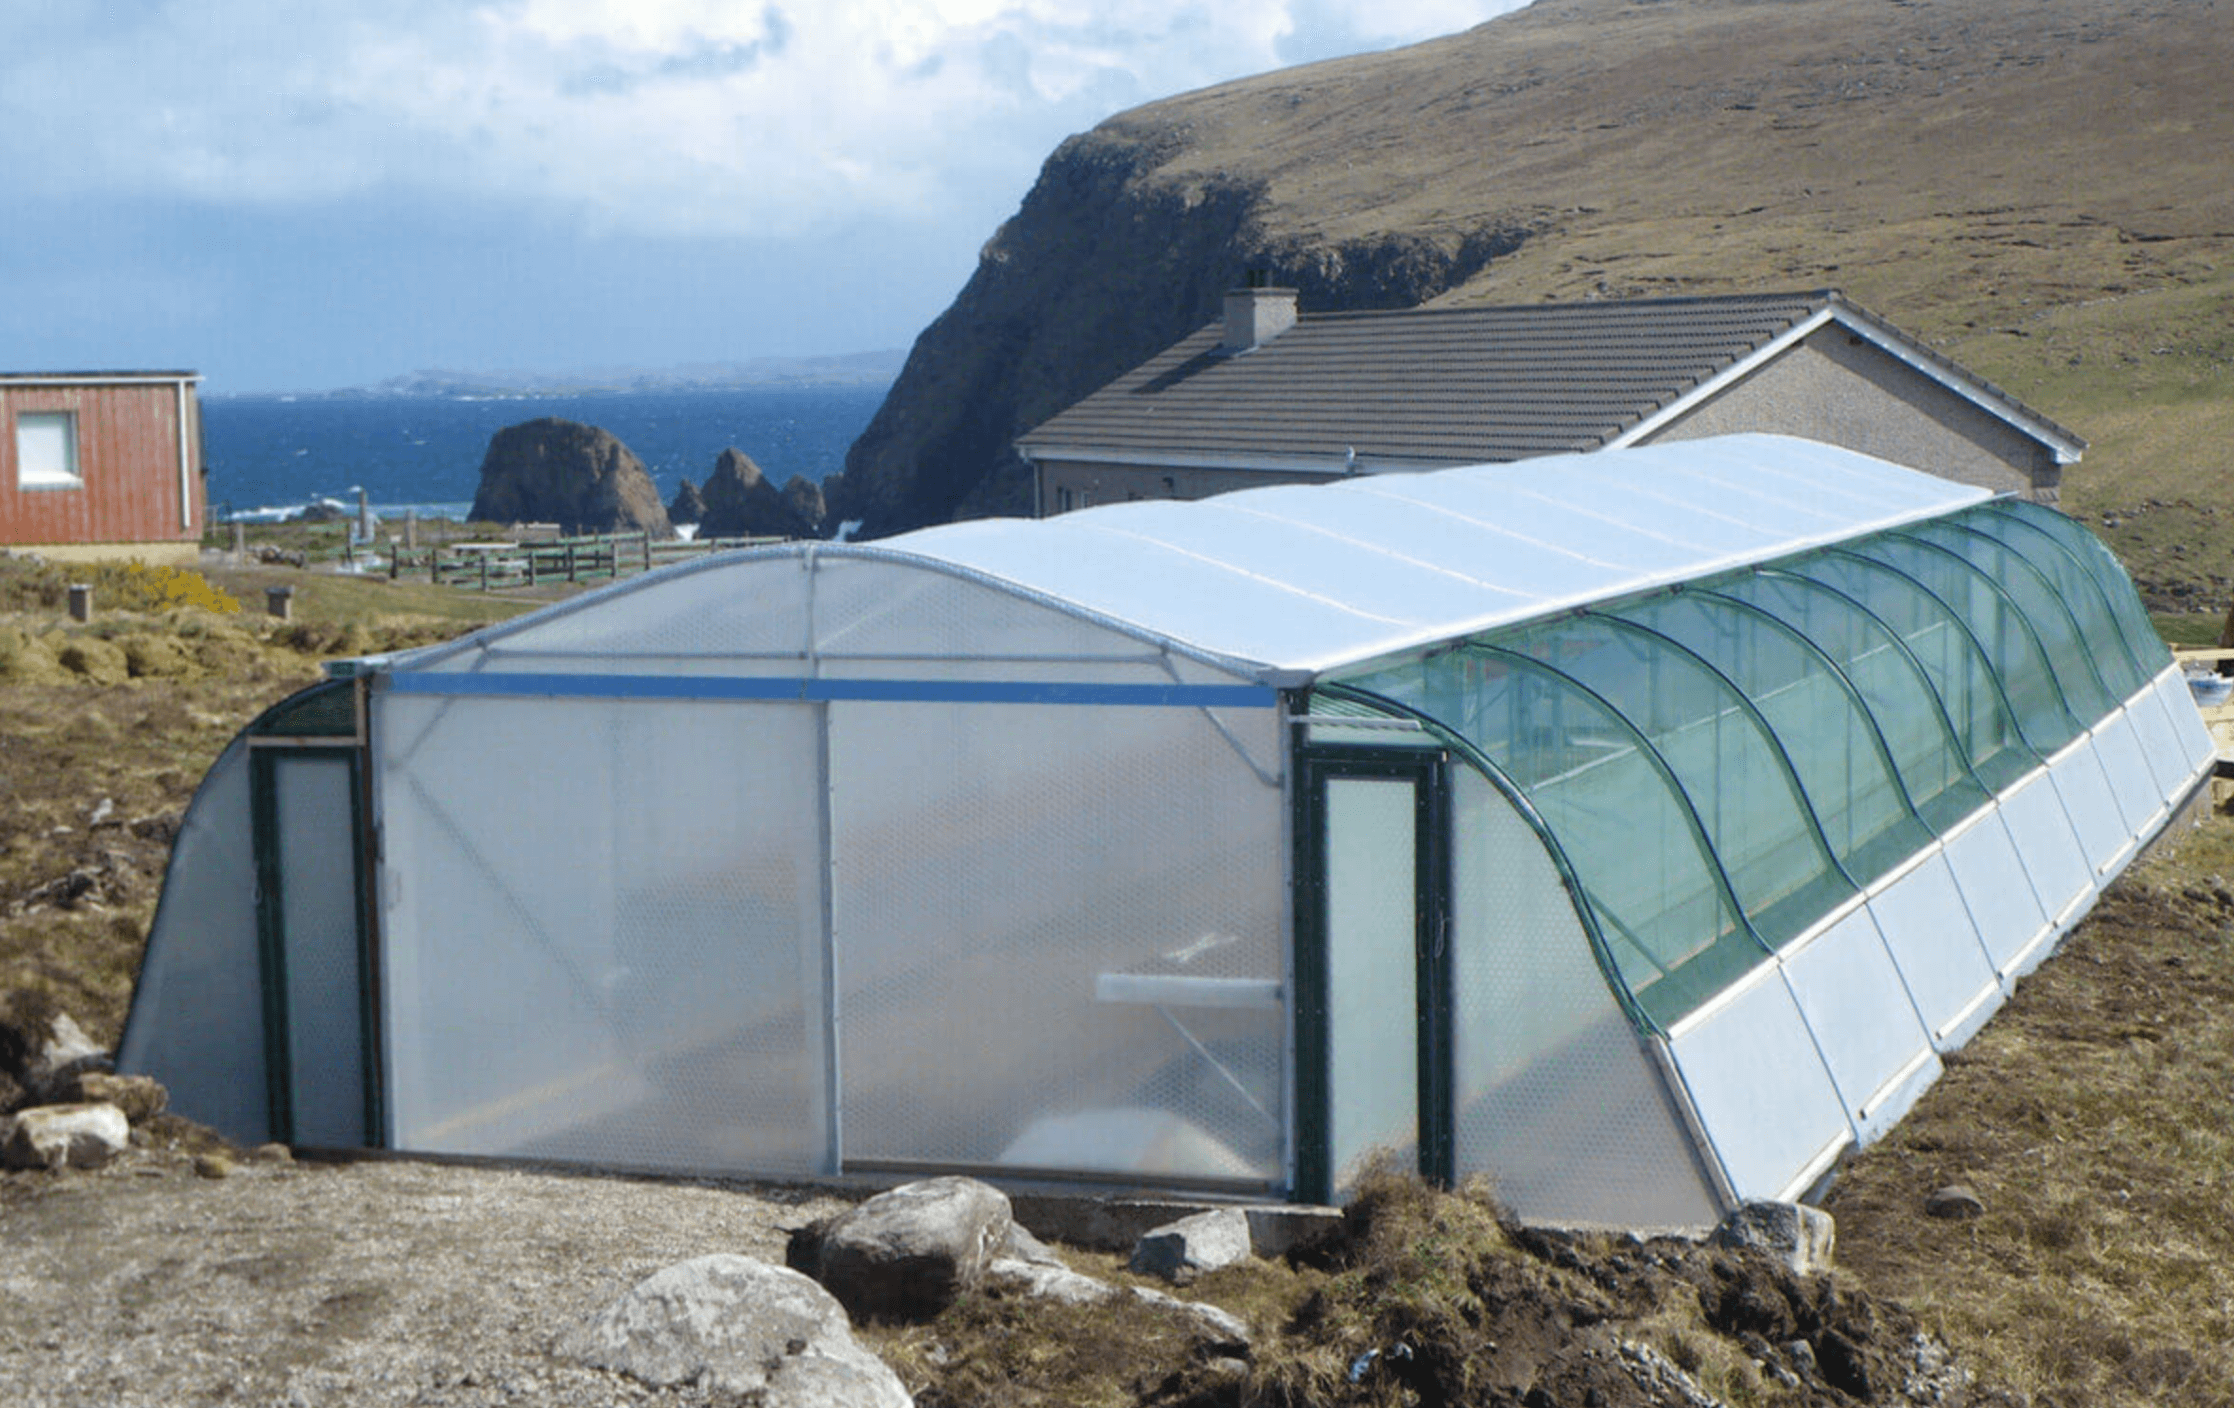
A Keder Greenhouse provides the perfect environment for propagation. Its unique construction offers several advantages:
- Temperature Control – The Keder Greenhouse’s double-skinned construction helps maintain a stable temperature, protecting young plants from extreme cold or heat.
- Light Diffusion – The Keder material diffuses sunlight evenly, reducing the risk of scorching delicate seedlings and ensuring uniform growth.
- Ventilation – Proper airflow is crucial for preventing mould and damping off (a disease that affects young plants, caused by several different pathogens that kill or weaken seeds or seedlings before or after theygerminate. It is most prevalent in wet and cool conditions). The Keder Greenhouse offers excellent ventilation options as standard and can be upgraded to automated air vents.
- Humidity Control – Young plants often need a humid environment to thrive. A Keder Greenhouse helps retain moisture while allowing you to control humidity levels effectively.
Step-by-Step Guide to Propagation in Your Keder Greenhouse
- Choose the Right Time
Timing is crucial when it comes to propagation. Early spring is typically the best time to start, but this can vary depending on the plant species. Research your specific plants to find the ideal time to propagate.
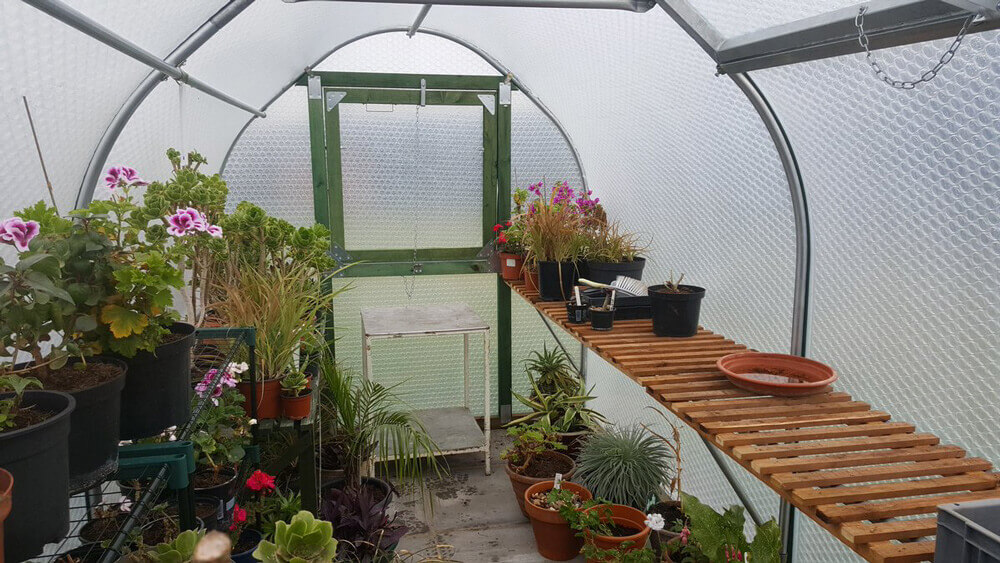
- Prepare Your Greenhouse
Before you start, ensure your Keder Greenhouse is clean and ready. Remove any debris and old plant material. Set up your seed trays, pots, or propagation beds, ensuring they have good drainage. Another upgrade to your new Keder greenhouse is our built in staging, that provides a perfect workspace at a comfortable height, without the obstacles of supporting legs.
3. Select Your Propagation Method
Choose the method that best suits the plants you want to propagate. For beginners, seed sowing and cuttings are usually the easiest methods to start with.
- Seed Sowing – fill trays with a light, well-draining seed compost. Sow the seeds according to the packet instructions, covering lightly with soil. Water gently to avoid displacing the seeds.
- Cuttings – Select a healthy parent plant and take cuttings just below a node (where leaves attach to the stem). Remove the lower leaves and dip the cut end in rooting hormone powder before planting it in a pot of compost.
- Watering and Humidity
Water your seeds or cuttings carefully. The soil should be kept moist but not waterlogged. Using a spray bottle can help with gentle watering. To maintain humidity, cover your seed trays or pots with a clear plastic dome or a propagator lid.
- Monitor and Adjust
Check your plants daily. Ensure they are not too dry or too wet, and adjust ventilation as needed to prevent mould. As your seedlings grow, thin them out if they become overcrowded, giving each plant enough space to develop.
- Transplanting
Once your seedlings or cuttings have established roots and grown strong, it’s time to transplant them into larger pots or directly into your garden. Acclimate them gradually by reducing the humidity and increasing airflow in the greenhouse before moving them to a new location. Why not try one of our cold frames? Or an option for our larger Smallholder greenhouses is an outrigger, that provides a protected lean-to area attached the greenhouse that is perfect for hardening off young plants.

7. Maintenance
Keep your Keder Greenhouse in good condition by regularly cleaning it and checking for any signs of pests or diseases. Regular maintenance ensures a healthy environment for your young plants.
Troubleshooting Common Issues
Even with the best care, challenges can arise during propagation. Here are a few common issues and how to address them:
- Damping Off – This fungal disease can wipe out young seedlings quickly. Prevent it by ensuring good airflow, avoiding overwatering, and using sterile soil.
- Leggy Seedlings – If your seedlings grow tall and spindly, they may not be getting enough light.
- Slow Rooting – If cuttings are slow to root, check the temperature and humidity levels. You may need to increase warmth or moisture to encourage faster rooting.
Final Thoughts
Propagation is an incredibly rewarding aspect of gardening, and using a Keder Greenhouse makes it even more effective and enjoyable. With its ability to create the perfect growing environment, you’ll be well on your way to producing a bountiful garden full of healthy, vibrant plants.
Whether you’re growing vegetables, flowers, or shrubs, following these simple steps will set you on the path to success. Happy propagating!
#greenhouse #greenhouselife #horticulturist #horticulture #horticulturelife #gardening #soilscience #agronomist #garden #horticultural #plants #fruitscience #gardener #horticulturetherapy #greenhouseautomation #automation